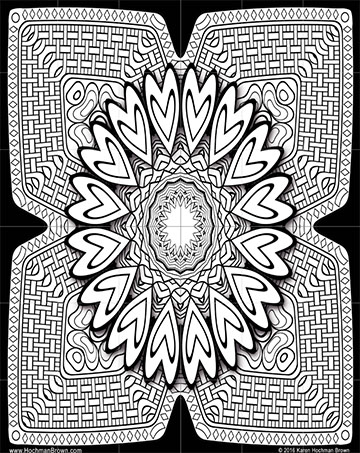
I have been trying to turn my artworks into coloring book pages. I think the kaleidoscopic mandalas that I create lend themselves to this. However, with so much texture in my artworks, I have been unable to translate them into stark black and white. So I have been working with line doodles that I created in Adobe Illustrator and spinning them into fanciful creations that are suitable for coloring. My plan is to make enough of them to create a book, or at least an ebook.
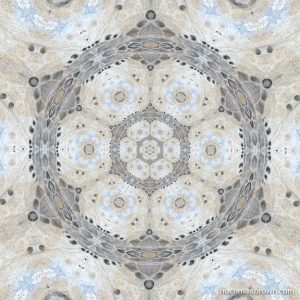
Click on image to download full size
For Valentines Day, I am presenting a page that you can download for free! Print at home and color with your favorite crayons, colored pencils or markers. Feel free to distribute this page to your friends. Have fun.
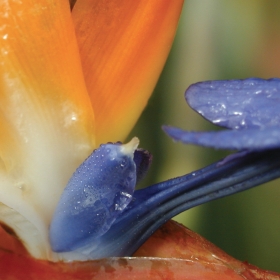
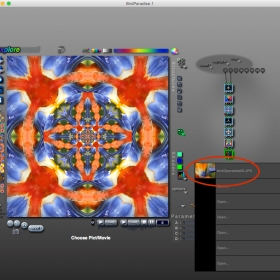
Bird Paradise base imageArtmatic graphic synthesizer
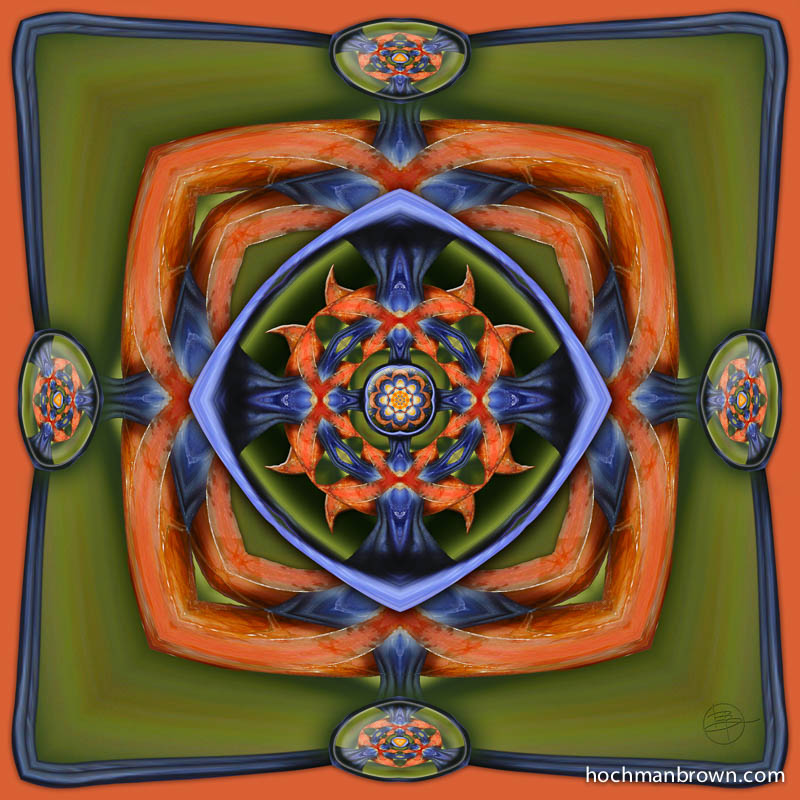
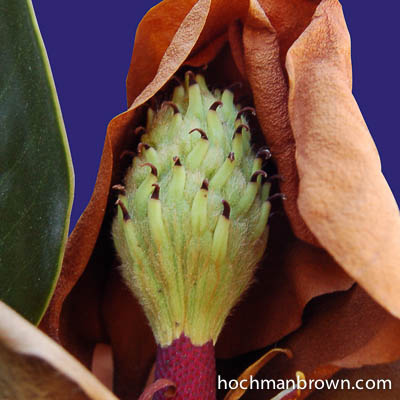
Every one of my kaleidoscopic artworks starts with a photograph. I’m going to use as an example the piece Bird OParadise. As you might have guessed, the subject is the bird of paradise flower. The sturdy purple and orange blossom shows up against a muted green background. They come together for a natural display of secondary colors. Pay special attention to the blue-violet flower petal speckled in dewdrops emerging from the structural flower’s beak-like sheath or spathe.
I import the base image into a graphic synthesizer program (ArtMatic) for manipulation. The photograph is filtered through a variety of mathematical transformations—stretched, bent and reflected through fractals, polar space and fun-house mirrors. Interesting results are saved as key-frames that can be rendered into large-scale graphic files.
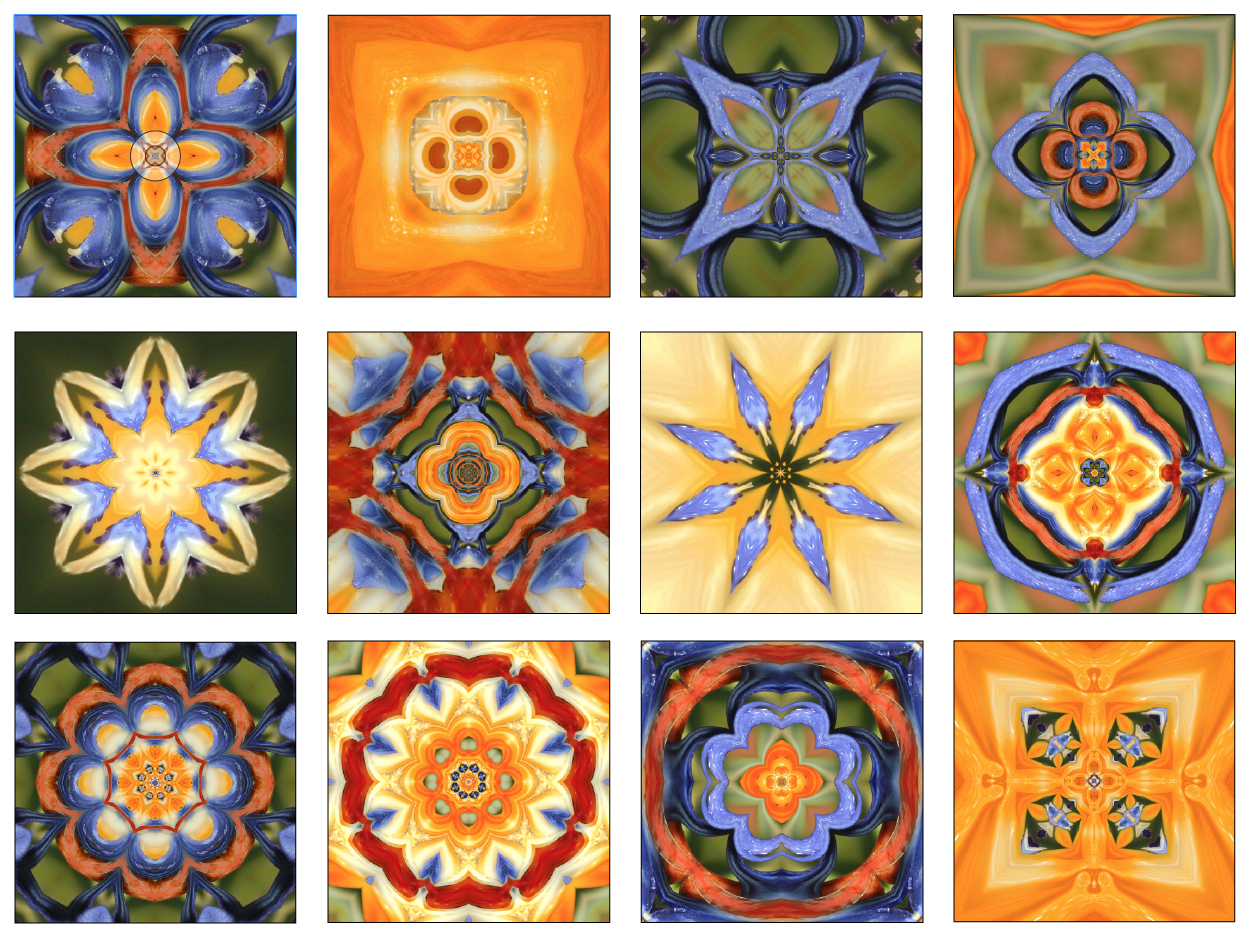
Twelve foundlings for Bird OParadise
The key-framing process allows an image to be animated over time (videos) however, for this series, I only capture the still frames, instructing the software to render the kaleidoscopic reflections. I call the resulting images “foundlings.” I collect the foundlings and tuck them away in a folder, preparing for a digital collage.
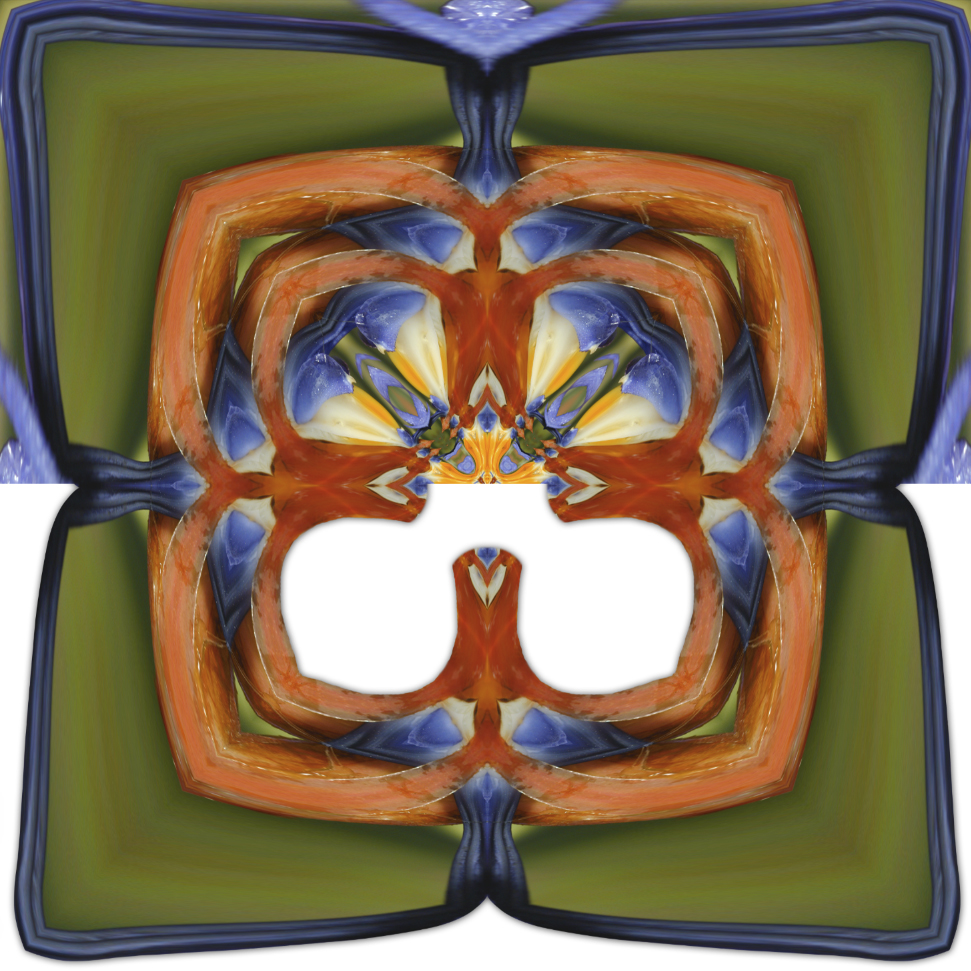
Masked foundling
After creating several foundlings, I examine them in large scale—sorting, selecting and sometimes creating more, as the artwork requires. I prepare the selected foundlings in Adobe Photoshop using a technique called masking (think of a digital X-acto with a lot more control). I gather the masked foundling into layers and manipulate the light and shadow to enhance the illusion of depth in the finished artwork.
I was working on Judaic Art but had hit a roadblock. I wanted to have my designs custom printed on silk to make into prayer shawls (tallit). The results were beautiful, but the cost was too high to make them profitable. I was frustrated and needed another artistic outlet.
In January of 2011, I attended an inspirational seminar, Matrix Energetics. And while I did not become a practitioner like my brother, it did lead me to begin my series of photography-based kaleidoscopic artwork. When I got home, I created the first piece, Magnolia Pod-me Hum. The base image is a magnolia pod from a tree in my garden. It was placed there by my landscape designer as his gift to me and as a reminder of his business, Mother Magnolia.
Base image for Magnolia Pod-me Hum
I was looking though the various experimentations I had done with U&I Software’s Artmatic, a modular graphics synthesizer that I enjoyed fiddling with. I found an example I made from a piece of beach rock marked with holes. It was a simple reflection without any further manipulation. But it gave me the spark to play around with the idea of incorporating photographs into the six-pointed stars I had been creating in Artmatic and manipulating in Photoshop.
Holey Beach Rock
An idea was born. I used the Artmatic parameter tree (see blog post, Where did it all begin? Part 1) from Holey Beach Rock as my starter point. I made many variations on the theme with the photograph of my magnolia pod as the source. I took the resulting renders and imported them into Photoshop to be masked, shaded and layered. I decided the result needed a little something extra so I put in little versions of the magnolia pod and some dots. I can’t remember why I decided to try dots, but they seemed to work and added an extra something. The result was Magnolia Pod-me Hum–the first of what would become a series in excess of eighty pieces and still growing.
In the beginning, I set myself up with some rules, kind of like an assignment. I alway said that I work best under assignment. This time it didn’t come from the outside. My pieces would be made from a single photograph. They would be six-sided symmetry. They would have dots. I made eleven pieces like that until I created Rose Frills In Four which is titled such because I used a four-sided symmetry. Then with twelve pieces in the series, I made my second calendar.